
by Spacejock Software
For Windows 7 and newer
• Install the program
• Click Start - All Programs - Spacejock Software - Sonar 3
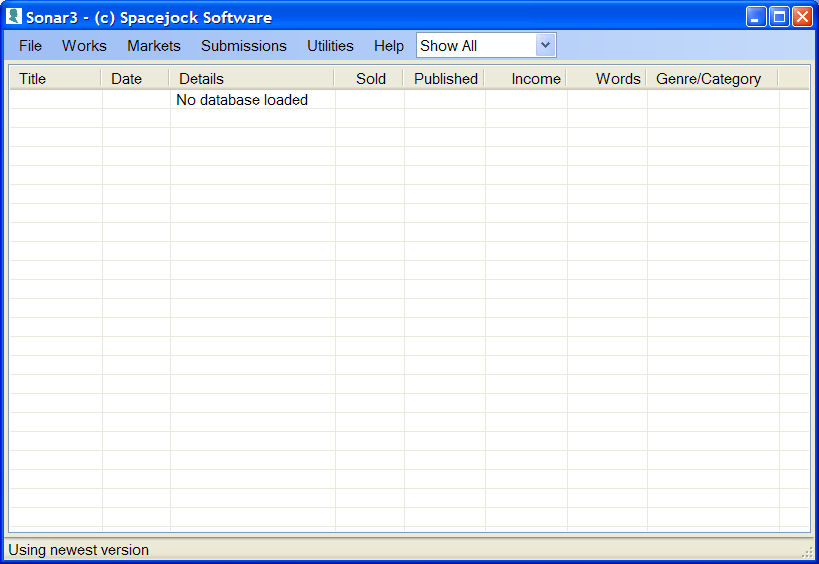
• Sonar will then start with a blank screen:
If you already have a Sonar2 database, click File - Convert Sonar2 Database and follow the prompts.
If you are starting from scratch, you have to click File - New and enter a new Sonar3 filename. The default is 'New Project.sonar3', but you may like to rename this.
You'll now be returned to the Sonar3 main screen, with your new empty project ready to use. At this stage you can drag the screen to make it larger, which will make the information easier to see.
Before you can add a submission you need to add a market and a work (e.g. story, article, poem, image, photo, etc.) Just click the relevant menu heading then 'Add'. Fill out the title, which is mandatory, and then any other fields you want to recall later.
Once you have a market and a work in the database, you can click Submissions - Add. Choose the market and the work from the drop-downs, fill out the details and click save. The main screen will be updated to show the submission along with useful details like the date submitted, what the status is, and how much you've earned from your work.
Please note - there's one major difference between Sonar2 and Sonar3 ... with the latter you can have multiple databases with separate information, and you can open them via the File menu or by double-clicking them in Windows Explorer.
Sonar FAQ
Why doesn't Sonar display multiple submissions?
I wrote it for short fiction submissions, and almost without exception short story markets won't look at sim subs. They don't want to waste their time reading something which has been sitting in the pile for two months, decide to buy it, then find it was published online two weeks earlier. So, the program was always designed to show the latest submission or event for each work on the main page.
My submissions is showing submitted or returned, but I sold it?
When displaying all the submissions on the main page, Sonar takes each work and examines all the submissions for it. When Sonar has the most recent date, it uses that submission's status to display the current status of the work. So, if you sell a story on one date but enter a submission with a later date, the story will not show as sold.
If your 'sold' submission is the most recent for the work in question, just double-check you ticked the 'sale' box on the submission.
I write poetry, where simultaneous submissions are allowed
And I wrote Sonar for short fiction ;-) In order to display simultaneous submissions I'll need to rewrite a few routines in Sonar, and then add the option for sim subs to the settings. I don't have plans to do this just yet.
What does 'trunked' mean?
'Trunked' as in buried in the basement or consigned to the attic, never to see the light of day. It's a piece you simply cannot sell and have decided to retire for good. (The work, not you.)
I lost my database after upgrading Sonar
Sonar 3 uses a new location for the settings file, which contains the location of your default database, and it sounds like it didn't copy over the old settings file when you updated.
All you need to do is run Sonar3, then click File - Open and locate your database. (It'll be a .sonar3 file, and the program won't let you open anything else.)
It's either in (My )Documents\Sonar3\ or you may have to locate it manually if you stored it elsewhere.
Once you've opened the database Sonar3 will find it automatically each time you start the program up.
I can't add anything to Sonar 3 - submissions, works, markets, anything
First you need to create a new project, and then you need to add a market and a work before you can add a submission.
How do I upgrade my data from Sonar 2?
Download and install Sonar3. It won't replace Sonar2.
Now run Sonar3 and click File - Convert Sonar 2 data.
After it's finished, you can uninstall Sonar2