• Install the program
• Click Start - All Programs - Spacejock Software - yWriter
• yWriter will tell notice it's running for the first time, and will show the following:
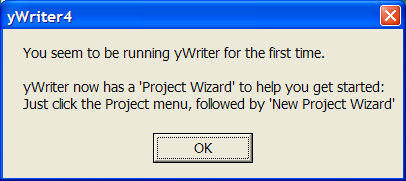
• Click OK and the main screen will appear.
• yWriter will ask whether you want to check for updates every week (say yes)
This will only occur in version 4.0.68 or later
• Click the Project menu.
• Click New Project Wizard.
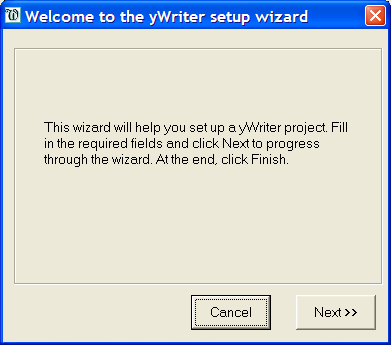
• Proceed through the wizard, filling out the fields, until you get to the 'Project Filename/Folder' question.
• Click the button with 3 dots (. . .)
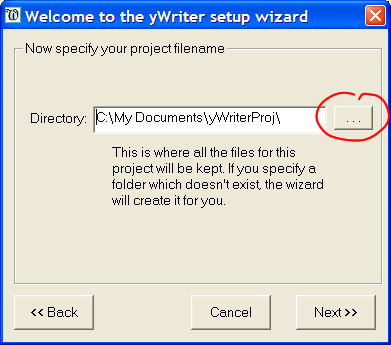
• You should be in your Documents folder. Click the 'Create New Folder' button near the top right corner of the dialog box:

• Enter the folder name - e.g. "My Novel".
• Double-click the new folder to open it, then click Open to select it.
• Back in the yWriter wizard, click Next.
• Check over the summary, then click Finish.
You'll now be returned to the yWriter main screen, with your new empty project ready to use. At this stage you can drag the screen to make it larger, which will make the information easier to see.
Now let's do something more useful:
• Click Chapters, then Create Multiple Chapters.
• Accept the default (25)
• Click the first chapter in the list (once) to select it
• Click the Scenes menu, then 'Add Scene'
• In the lower third of the screen, enter the scene title in the long, narrow text box. (E.g. 'Protagonist discovers she's won the lottery')
• Click in the description box underneath and enter a short summary of your scene. This summary will form part of your auto-synopsis later. You can also leave it blank.
• Over on the right there's a viewpoint selector (currently set to 'N/A') and an 'Add New' button. Click the button to add a character to this scene.
• The character list will appear, currently empty. Click Add New.
• An empty character sheet will appear. You must enter a short name, but everything else is optional.
• Click OK to save, then OK on the character list.
• The Viewpoint combo should now contain 'N/A' and the new character. Select the new character.
• Enter a sentence or two in the main window (the largest text box occupying the top half of the editor.) The button in the top left corver (v-shaped icon) switches between data and maximum editor size.
• All the other scene settings (Status, Goals, Time, etc) are optional.
• Click 'Save & Exit'
You're now back on the main screen, and the new scene will be showing in the top right window. You can now explore the menus, adding more scenes and characters, and perhaps locations, items and notes.
By the way, if you open the Editor window you can click 'Spelling' then 'Install Dictionary' - this will download and install a free set of files containing a comprehensive English word list. It will also activate the yWriter spelling dictionary.
Important note: If you decide the move your yW4 project file elsewhere, you MUST move the RTF and Autobackups folders too. The RTF folder contains the scene text, and the autobackups contains ... well, your backups. Failing to move the RTF folder - at the very least - will prevent your project working.